Easy Steps to Apply Special Wallcovering Adhesive Like a Pro
3 min read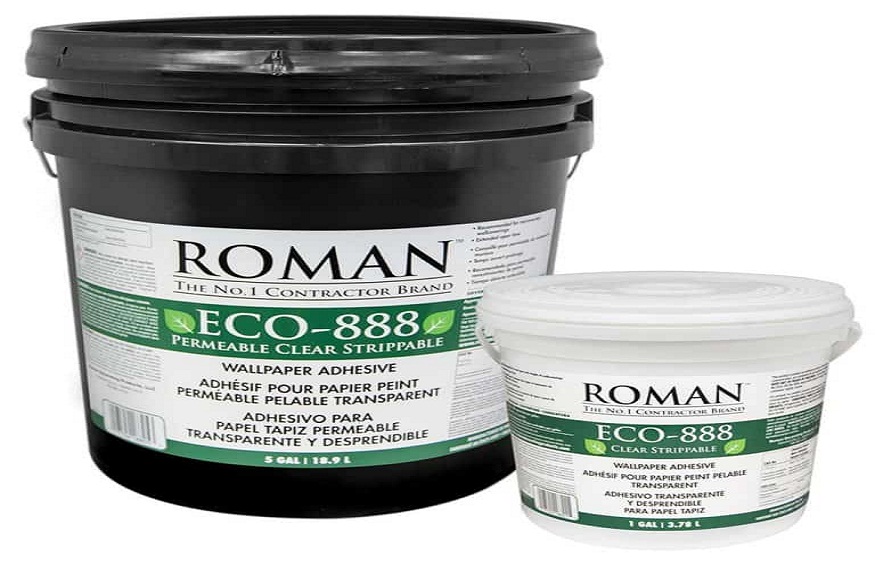
Applying wallpaper can be a rewarding DIY project but requires careful preparation and technique. One of the most important factors in choosing the right adhesive. Special wallcovering adhesives are designed to work with specific types of wallpaper, such as vinyl, non-woven, and grasscloth. This article will guide you through the easy steps to apply special wallcovering adhesive for construction like a professional.
Gather Your Tools and Supplies
Before you begin, make sure you have the following tools and supplies:
- Special wallcovering adhesive
- Adhesive roller or brush
- Bucket
- Measuring tape
- Level
- Utility knife
- Smoothing tool
- Wallpaper paste brush
- Drop cloths
Prepare the Walls
Proper wall preparation is essential for a successful wallpapering project. Follow these steps:
- Clean the walls: Remove any dirt, dust, or loose paint.
- Fill holes and cracks: Use a patching compound to repair imperfections.
- Prime the walls: Apply a coat of primer specifically designed for wallpapering to create a smooth, even surface.
Measure and Cut the Wallpaper
- Measure the walls: Measure the height and width of the walls to determine the amount of wallpaper you need.
- Cut the wallpaper: Cut the wallpaper strips according to the measured dimensions, ensuring you have enough overlap for trimming.
Prepare the Adhesive
- Read the instructions: Follow the instructions on the adhesive packaging carefully.
- Mix the adhesive: Mix the adhesive according to the recommended ratio using a clean bucket and a stirring tool.
- Let it sit: Allow the adhesive to sit for the recommended time to activate its bonding properties.
Apply the Adhesive
- Use a roller or brush: Apply the adhesive to the back of the wallpaper strip.
- Ensure even coverage: Make sure the adhesive is evenly distributed across the entire back of the wallpaper.
- Let it sit: Allow the adhesive to set for a few minutes before hanging the wallpaper.
Hang the Wallpaper
- Starting point: Choose a starting point on the wall and hang the first strip carefully, ensuring it aligns with the vertical lines you marked.
- Smoothing: Use a tool to remove air bubbles and smooth the wallpaper against the wall.
- Pattern matching: Carefully match the patterns on subsequent strips to the first.
- Trimming: Trim any excess wallpaper along the edges of the walls.
Drying Time
- Allow to dry: Allow the wallpaper to dry completely before adding additional elements or furniture.
- Follow instructions: Refer to the adhesive packaging for specific drying times.
Tips for Applying Special Wallcovering Adhesive
- Choose the right adhesive: Select a special wallcovering adhesive compatible with the type of wallpaper you use.
- Prepare the surface thoroughly: A well-prepared surface will ensure better adhesion and prevent peeling.
- Use a quality smoothing tool: A good smoothing tool will help you remove air bubbles and create a smooth finish.
- Be patient: Wallpapering takes time, so be patient and take your time to ensure a professional result.
- Test the adhesive: Before applying it to the entire wall, test it on a small, inconspicuous area to ensure it adheres properly to the surface.
- Consider temperature and humidity: The room’s temperature and humidity can affect the adhesive’s drying time and adhesion.
- Use a quality wallpaper paste brush: A good brush will help you apply the adhesive evenly and prevent clumps.
- Avoid over-wetting: Be careful not to over-wet the wallpaper with adhesive, which can cause it to become warped or damaged.
- Seek professional help: If you are unsure about applying special wallcovering adhesive or working on a large project, consider hiring a professional wallpaper hanger.
Wrapping up
You can create a beautiful and long-lasting wallpapered interior by following these steps and using the right special wallcovering adhesive. Always consult the adhesive manufacturer’s instructions for specific guidelines and recommendations.