Does Peel Off Temporary Wallpaper Come Off Cleanly?
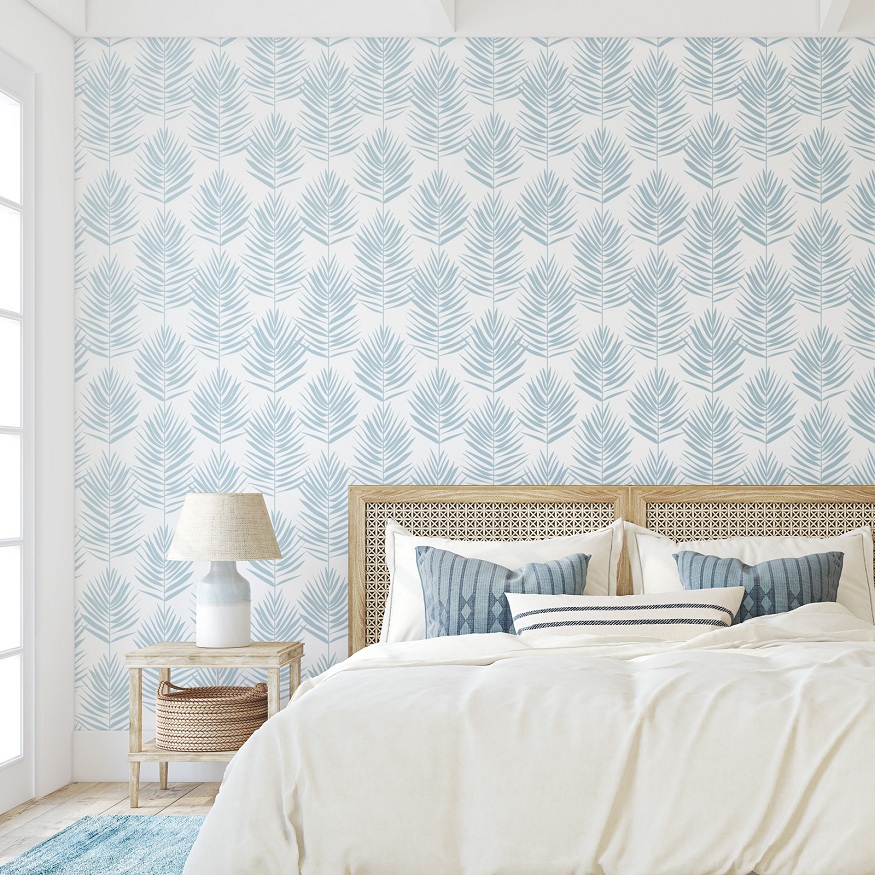
Peel off wallpaper is a great way to make your walls look fresh and new without having to spend a lot of time and money on the project. While there are various types of peel off wallpaper, the most common one is probably removable vinyl wallpaper.
The peel off wallpaper is made from a special adhesive that allows you to remove the paper from the wall without damaging it. It can be used on any type of surface, including wood, concrete and metal.
So does peel off temporary wallpaper come off cleanly?
The simple answer is yes, peel off wallpaper comes off cleanly. It is important that you clean your walls before applying the wallpaper so that you remove any dust and dirt from the surface. Once you have removed the dust then it is easier to wipe down with a damp cloth to remove any residue from the wallpaper paste.
If you are looking for specialty rollers for removing wall paper, then I would recommend that you purchase a good quality roller with a long handle and as much pressure as possible. You will find that this type of roller has been designed to get rid of stubborn glue and residues which can be left behind on walls after removing old wallpaper.
If you do not want to use a roller at all, then I recommend using a cloth or sponge pad which you can use to rub away stubborn glue residue until it starts coming off by itself.
How to remove wallpaper cleanly
Now that you know that peel off wallpaper can come out cleanly, you need to understand different ways of removing this wallpaper without causing mess. At this point, we are going to guide you on how to remove peel off wallpaper cleanly.
Prepare the room for peel off wallpaper removal
You will be expected to remove all the materials in the room and prepare the room for the removal. You can equally put the furniture and other items at the middle of the room to create room for this DIY project. Before you begin peeling floral wallpaper from your walls, there are some things that you should do to make sure that the process goes smoothly. First, remove all furniture and other items from the room so that they don’t get damaged. If possible, hang up any artwork so that it doesn’t get in the way of your work.
Cover the floor
The next step is to cover the floor with a drop cloth or plastic sheeting. This can protect it from getting dirty while you’re working on removing the wallpaper. It also makes cleanup a lot easier. If you don’t have any extra materials lying around, use newspapers for this purpose.
Determine the type of the wallpaper
Once you’ve finished covering the floor, you can start working on removing the wallpaper. This process will vary depending on the type of paper that you have and how old it is. If your wallpaper is fairly new and has a relatively smooth surface, then using an adhesive remover may be enough to get rid of it. These products come in liquid or aerosol form and can be sprayed directly onto the wallpaper.
This will loosen up the adhesive that holds the paper to your walls, allowing you to peel it off more easily. If you don’t have access to an adhesive remover, you can use a product like WD-40 or Goof Off as an alternative solution. These are both strong solvents that can remove any remaining adhesive from your walls after you’ve removed the wallpaper.
Start removing the wallpaper from top to bottom
Start removing the wallpaper using a putty knife or scraper to separate the paper from the wall. It’s easiest to start at a corner and work your way across, so that you don’t waste any time having to reposition yourself later on. Work slowly and carefully, making sure that none of your tools get stuck in any areas where the wallpaper has been removed but not yet smoothed out.
Clean the house and rearrange
After you are done removing the wallpaper from all the walls, you can now clean the house and return all the materials as needed.
It was that simple to remove the wallpaper cleanly from your walls. You just need the right tools and a brief understanding of the steps explained in this post and you’re good to go.