Step-by-Step Guide to Applying PU Paint and Polish
3 min read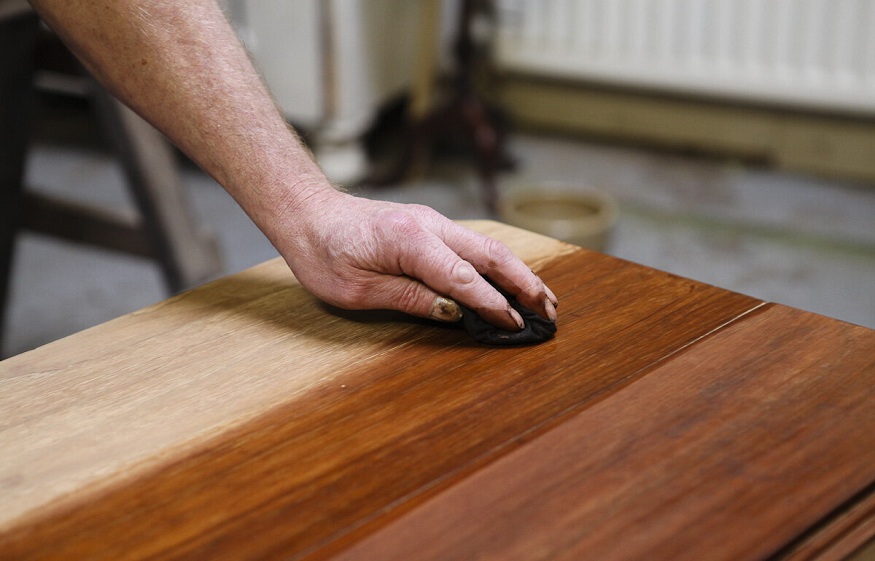
Polyurethane (PU) paint or commonly referred to as wood polish is a type of coating that can be used to protect surfaces from wear, water, and UV damage. It is often used on furniture that is brought from a home furniture store. Unlike most other paints, PU paint and polish must be applied in a specific way to ensure effective coverage and lasting results. Let us take a look at the PU coatings application process.
Step 1: Prepare the Surface
Before you apply any kind of paint or polish to a surface, you must prepare it first. If there is dirt or debris on the surface, use a cloth or brush to remove them. For tougher stains like oil or grease, you may need to use detergent and water or an industrial cleaner. Once your surface is cleaned and dry, sand it lightly with 220-grit sandpaper until it’s smooth. Wipe off any dust particles left over from sanding before proceeding to the next step of calling a wood painter.
Step 2: Apply Primer
Once your surface is prepped properly, you can begin applying primer. Primer is a special type of paint that helps provide better adhesion for subsequent coats of paint or wood polish. Start by pouring some primer onto a clean cloth or brush and spread it evenly across the entire surface using long strokes in one direction only. Allow the primer to dry completely before moving on to the next step; this usually takes about 30 minutes but can vary depending on your product’s instructions.
Step 3: Apply Paint/Polish
Now for the fun part! Begin applying your chosen paint or wood polish using clean tools such as brushes or rollers. Make sure not to leave any air bubbles behind as this could result in an uneven finish. Start by pouring some paint/polish onto your tools then spread it out evenly using long strokes in one direction only, this will help make sure you get an even finish when all is said and done!
Allow each coat of paint/polish to dry completely before moving on to the next one. This should take about 1-2 hours depending on your product’s instructions but can vary based on temperature and humidity levels in your area so make sure you read up on those beforehand!
Step 4: Clean Up & Enjoy!
Finally, once all of your coats are dry, it’s time for a clean-up! Remove any excess paint/polish from your tools using mineral spirits, if necessary, and then store them away safely for future use. Pat yourself on the back, you successfully applied PU paint/polish like a pro wood painter! Now just sit back and enjoy your beautiful newly coated surfaces!
Applying PU paint/polish correctly can be tricky but with patience and practice, anyone can do it! Make sure that you always follow all safety guidelines when working with chemicals such as these as well as prep surfaces properly beforehand for best results; this will help ensure that you get an even finish when all is said and done.